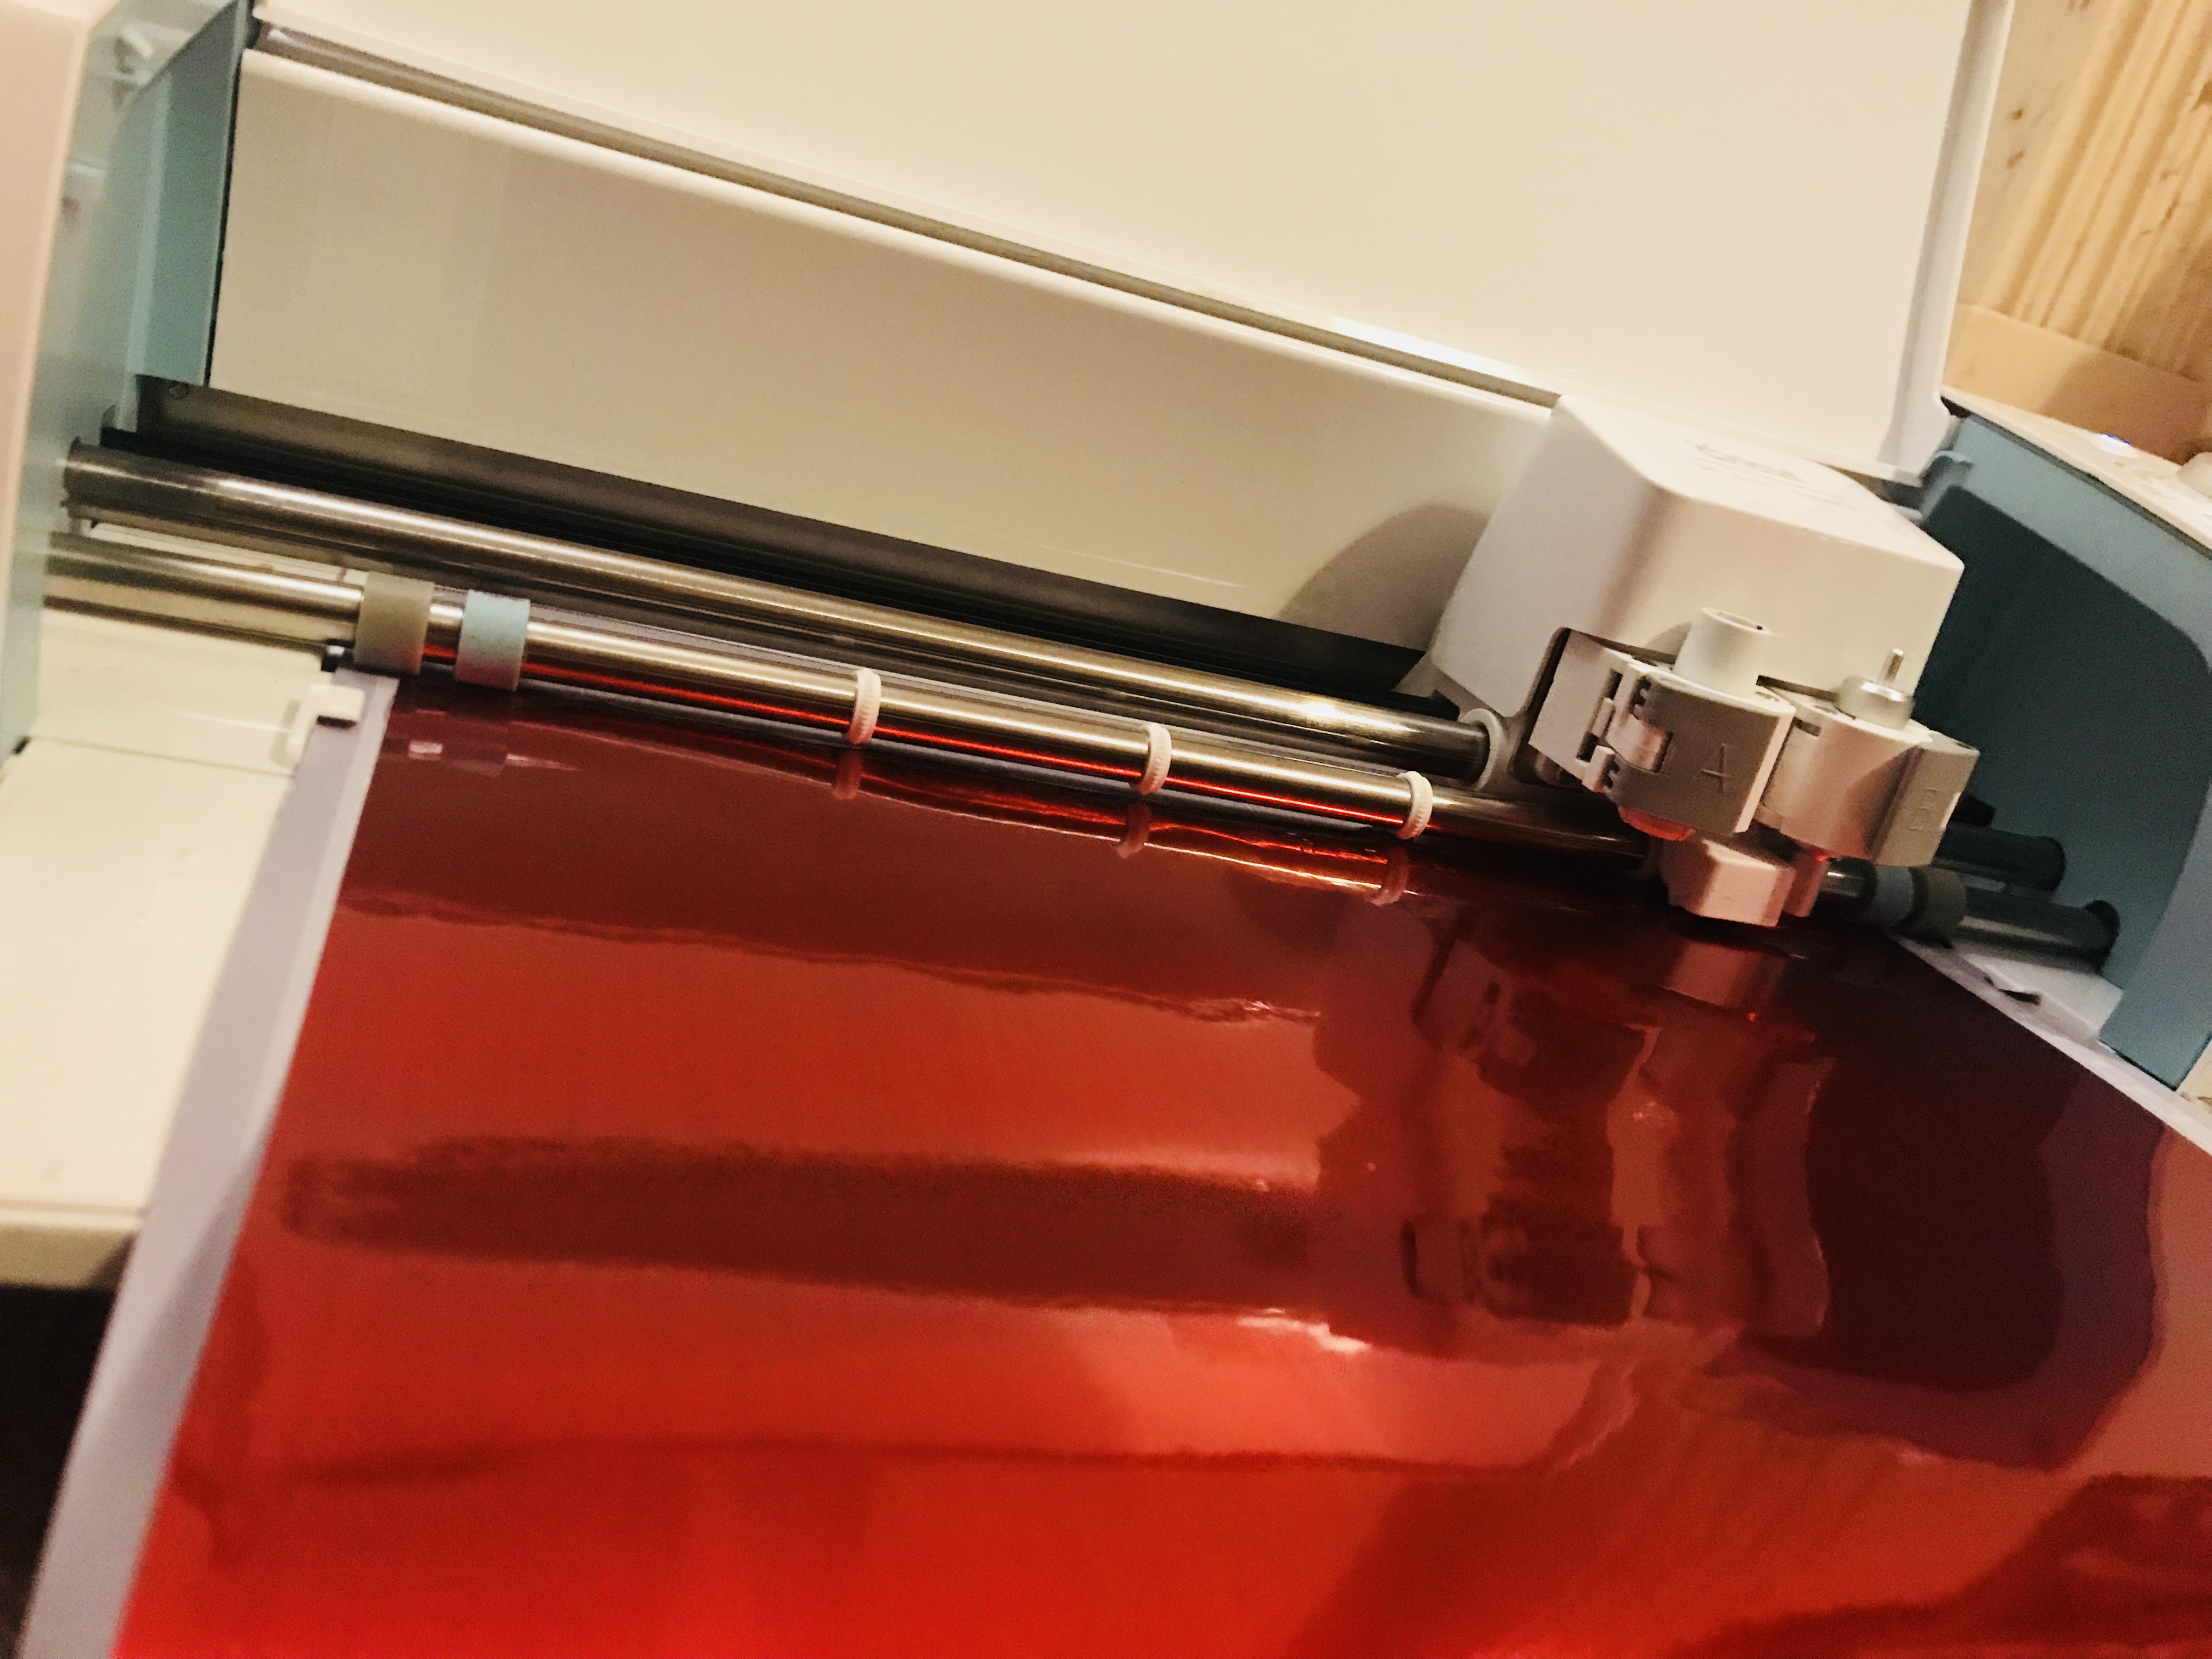
This year we decided to do Secret Santa with my family, its a great idea when there are new babies coming in the family and house deposits to save up for. But it always leaves me feeling like I need to get a little something. I feel bad not giving people something as they spoil our children. So I decided to make everyone their own personalised bauble using my Cricut machine. This is my step by step instructions on how to make your very own Christmas baubles:
Step one – get the right parts
It may sound silly, but it is important, I am not the kind of person who has clear baubles lying around. I am guessing many mothers, including pro crafters are not either. I ordered a few various shaped baubles from Baker Ross so I could make different varieties for everyone. I had Christmas trees, hearts, small balls and large balls. I then took to Amazon and ordered a bulk bag of confetti. It actually didn’t work out like a lot of confetti, to fill all of these baubles. But I had enough. I think next time I will try and find a warehouse of it.
Step two – designing the names
I purchased a set of metallic acrylic samples from the Cricut store as I thought this had nice Christmassy colours in it. The metallic shine is nice for baubles too. I then sat and played around with fonts in Cricut Design Space until I found a font I was happy with: Cricut font & basic shapes. I went with clear and easy to read.
Step three – carefully add the text
Now that you have your name printed onto the vinyl you need to precisely add it to the clear baubles. I used the Cricut tools and gently peeled the vinyl, adding it to the bauble. I lay one half of the bauble flat and simply visualised where the name should go. I did some a little wonky on purpose too, it looked quirky!
Step four – fill it with confetti
This is the fun part. I filled the half the bauble with confetti, this was less messy when closing it and also I didn’t use too much confetti at once. I didn’t have a lot to play with (in the end). You could also use glitter for this job, but I would make sure that you do this carefully. The kids would love this part!
Step five – add a ribbon
Voila! Add a piece of ribbon to create a hanging bauble. Tie it through the bauble hole – I used Christmas wrapping ribbon as it is readily available during the festive season. Another great idea is to use yarn or butchers string: the red and white striped string. Be as creative as you like!
Design idea
This bauble doesn’t have to be just a Christmas tree hanging decoration. You could use the larger baubles for gift ideas throughout the year: stuff them with a nice pair of socks or a watch for Valentines Day. Who says a bauble has to be just for Christmas? I love the idea of filling a large bauble with red crocheted hearts. A great idea for Hubby for Valentine’s Day. Or Father’s Day from the kiddies.
Do you have any fab ideas for baubles? I would love to hear about them on social media @mummyconstant, or in the comments below:


